Adjustment of the SpikesKit
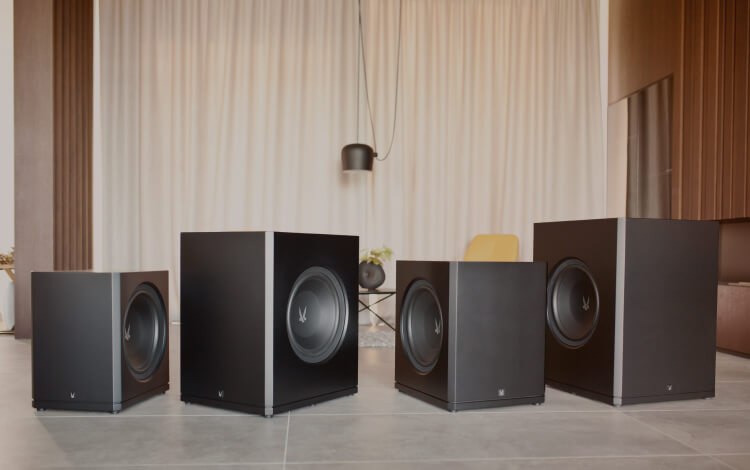
Supplied with The Tower and Monitor Stands, The Spike kit is there to ensure a firm stable mounting of your loudspeaker, with the ability to adjust tilt to suit listening seat height and uneven floors.
We recommend optimisation of speaker positioning prior to fitting the spikes to prevent damaging floors and floor coverings. Due to the massive construction of Arendal Sound Speakers and despite the large size of our spikes, we do not recommend walking the speaker, or dragging the speaker on its spikes as this may damage The Spike Kit.
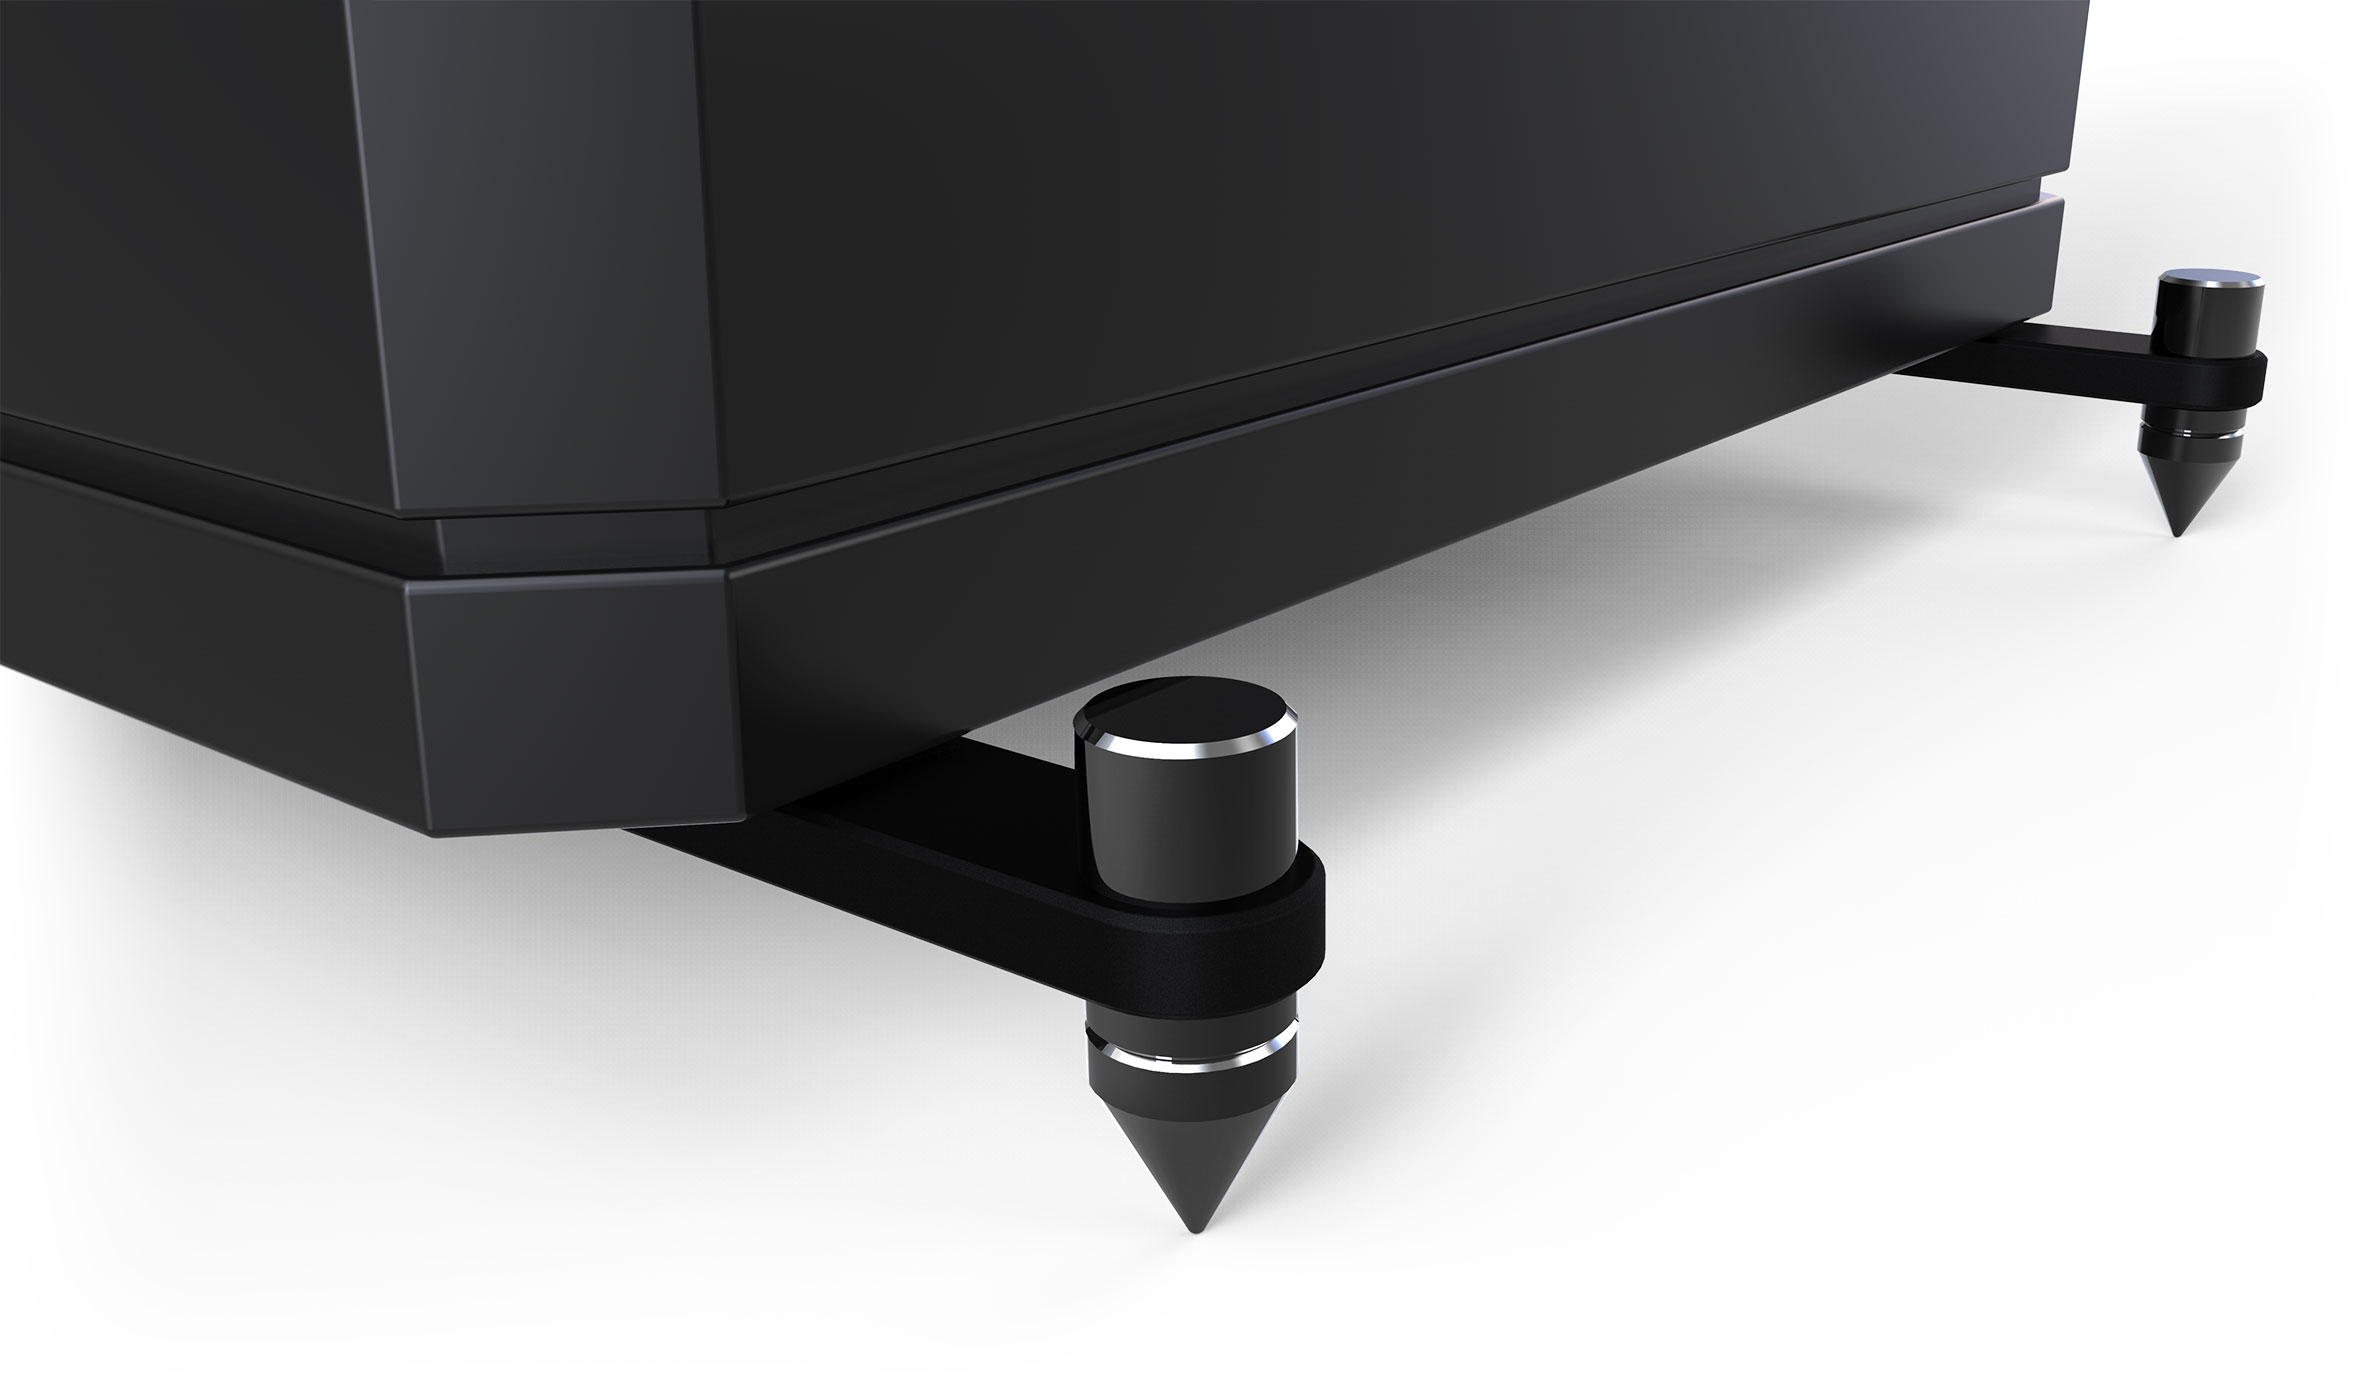
Once positioned, you need only slide the locking ring under the Spike Bar and then screw the spike in from above using the top Adjusting Ring. We recommend starting with the lowest adjustment required to lift the Spike Bar just clear of any floor covering, such as carpet.
Adjust levelling by screwing down the spike at the lowest corner, using a spirit level to level with the highest opposing corner. Then adjust of the opposing spikes to set the cabinet level. The fourth spike should then be adjusted until no rocking of the speaker can be felt. Now, if required adjust the front or rear spikes as a pair to tilt the speaker, up or down until the front baffle is firing directly at the listening position. Owing to our wide dispersion Waveguide Tweeter, this is not critical but aesthetically, it looks wrong if the two speakers are not level with each other.
Finally; Secure this position by tightening the lower Locking Ring up to the underside of the spike bar.
Pro tip
You can tilt the speaker further by adding the locking nut above instead of under the spike bar at the rear and the opposite in front for an even more aggressive tilt. Or the other way around to lessen the tilt of the loudspeaker. This will impact the soundstage and tonality depending on the distance to your listening position.